Are you making mods for Enemy Engaged: Comanche vs. Hokum?
This page for you!
First, you should REGISTER. You can choose same nickname as on your favorite gaming or aviation forum so people will know who are you. Also, please type your actual e-mail so you can get comments notifications. This e-mail will not appear anywhere on the Website or Installer, so don’t worry about spam or things like that.
After you get access to the back-end, take a look around – if you are familiar with WordPress, it will be easy for you to understand how everything works, you can skip next section in this case.
WordPress navigation
On the left you can find sidebar with main sections:
- Dashboard is a front page with some useless information
- Posts are News articles, that appear in relative section both on Website and Installer. You can make your own posts without restrictions, making announcement for your new mod for example.
- Mods is the main section – you can add new mod, or edit existing. It will be described in details below.
- Media is a list of all images and files uploaded by you and others. Do not upload any sensitive information on the Website as it will be visible by others.
- Comments is a list of feedback, left by players. Please remember that question-answer form works for bugs reporting and quick support, not for discussions which you can do on forums.
- In Profile, you can change back-end language and any of your personal information
Access rights
You may notice, that you have no edit access to others mods or media files. By default, new users get role Author. As on Website no control of authors actions applied, it’s just a security precaution. If you are familiar enough in EECH community, have some contributions behind your shoulders – you get Editor role, which gives opportunity to change content of any post or mod. Similar to Wikipedia, Website has revisions system so it will be easy to restore any changes without problem.
Add new mod
Now you can try to add new mod – choose Mods – Add New on the sidebar and mod form will appear. It’s content similar to Edit form, so it’s important to understand what for each field exists since the beginning.
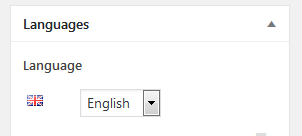
- First thing – set proper language for your mod (in right block Languages). It’s recommended to start with English but it’s not required. If you can’t see your language in list – choose English for now and fill fields on your local language, then just send a message to Admin about that, and he will fix it.
Language block - Top field is a Title – type mod title (without version number!) in chosen language and press Enter (or just blur from title field). Under Title new label will appear – Permalink. If it does not look right – you can press Edit and change it manually. You can do it later, but it’s NOT recommended, as search engines will catch this permalink really quickly. Also, you can click on Permalink soon to see how your mod looks like.
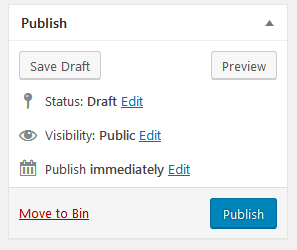
Title and permalink fields - Below Languages is Status block. New mod status is Draft – it means it’s not listed on Website or in Installer. You can press Save Draft to save your current edits. When all information will be filled, files and images uploaded – you can publish it by pressing Publish button. If you’ll need to make your mod unlisted (maybe temporarily), just make it draft again.
Status block - Next under the Status – Categories block. Just check all categories, that can be applied to your mod (at least one).
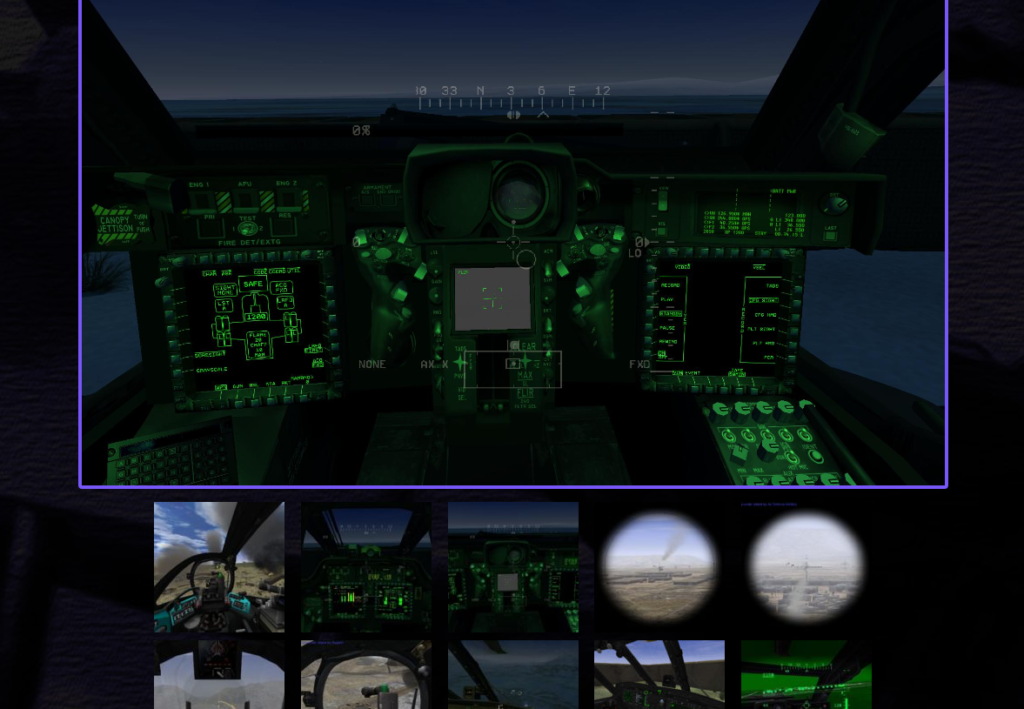
- In Images gallery you can add pictures, that will appear in slider on Website and in Installer.
- Multiple video links can be added, they appear as embed videos on website and plain links in Installer.
- Featured image will be used as thumbnail on Website in mods list and as cover image on single mod page (be sure it’s large enough to look nice). In Installer, it will appear as title image on single mod page. If you want this image to appear in slider as well, add it in Images gallery as well manually.

- Large black area on the left is Content, where you can type overall description of your mod. But if you are not planning to release major updates – you can place complete description here. Important to understand, that this field should contain description in selected language.
Next section is Mod parameters – here you will add versions values and description, upload files and images specifically for each version.
- Known conflicts with other mods field is really important to care about – if any similar mod exists in the database, you HAVE to mark it as incompatible, even if you are only 50% sure about it. For example, you made skin for some Blue side helicopter. But same time, models and skins pack for Blue side already released by other developer. When you set it incompatible, players will see special mark near mods titles if they both selected.
So they can decide, which one should be installed with care, maybe even on test EECH install.
Conflicts with other mods example Versions container may consist of multiple version blocks. To add initial version, press New version block. It’s important to add the newest versions to the bottom, in natural order. Versions can be sorted anytime manually by dragging gray cell to the left of version block.
- Version number will be used for version control system, and also added to the title of mods list in Installer. In most cases it will be digit with one decimal number – like “0.9” or “1.4“. If you are not planning to update your mod frequently – it’s fine to type just “1“. In case you need to update both files and version number, you can increase it only if new mod version does not lose compatibly with any of EECH versions. If it does – you should add new version and left previous one available for players.
Version number example - Release type is a way to separate test versions from released. Mods with Test type will appear in Launcher only if Allow test updates option is enabled, so inexperienced players will not have problems with raw mods. Only Editor and Administrator can change status to Released, so your first mod will be Test anyway.
Release type example - Triggered Relist mod in launcher will make mod available for download even if it already installed. For example, you’ve updated files without adding new version block (does not matter, was version number changed or not) – for everyone, who already installed it, mod still marked as Installed. To change mark to Update available, you need to trigger Relist mod manually and save mod once.
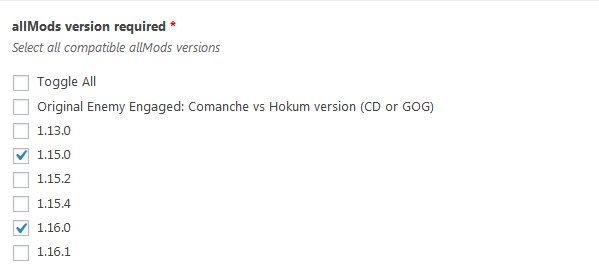
Triggered Relist mod option example - allMods version required is a list of available EECH versions, with which your mod may be compatible. If you not sure, that your mod will work properly with some of older versions, just leave checkbox unchecked – players have a way to ignore compatibly warning and install it anyway.
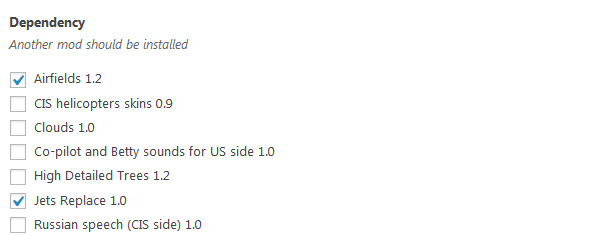
Version required example - Dependency is an opposite of Conflict – your mod should be installed on top of another one. It may be yours or made by someone else. But same mod can’t be checked here (in case you are making add-on for same mod), for this next option exists.
Dependencies example - Previous version required to be installed means you are releasing new version for same mod, but willing to include only changed files in installer. In this case this version will be available for installation only if previous one is selected or already installed.
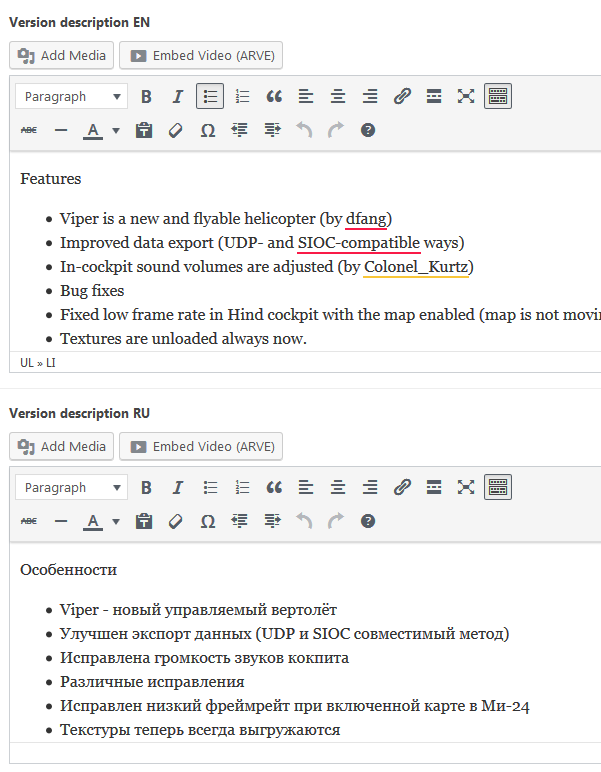
Previous version required example - Version description, Image gallery and Videos are fields similar to others we saw at the beginning, but in these you can add some details about this version only. One important note: description fields presented here in each language at once. So you may fill only one field in selected language, others will be optional.
Multilingual version description example - Last field is Upload archive to web server button. You should pack your files in ZIP archive with default compression (not Bzip2 or LZMA), 7zip utility can be used for ZIP compression with Deflate method. Same rules applied to installer uploaded on Google Drive. It’s important to store latest archive on the server (even if Google Drive is used) because script taking file size (for downloading progress animation) and files count in archive (for unpack progress animation) from this file.
- You can upload installer archive on Google Drive and past share link in related field. It recommended doing as Google is more reliable than web server, but still optional.
Google Drive link example Installer archive content
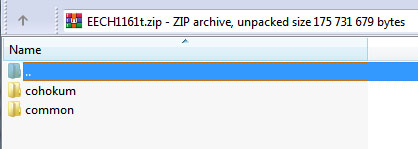
- You have to stick to native EECH folders structure: archive should contain cohokum and/or common folders. If you pack your textures without folders structure – your mod will be not installed automatically.
Installer archive content example - \cohokum\COHOKUM.EXE
- \cohokum\DEBUG.EXE
- \cohokum\EECH.INI
- \cohokum\GAME.CFG
- \cohokum\GWUT8888.CSV
- \cohokum\COHOKUM8888.EXE (8 is any digit, reserved for allMods testing updates)
- \cohokum\DEBUG8888.EXE
Example how allMods pack looks from inside:
